How to set up WireSock Secure Connect
The WireSock Secure Connect supports:
- Windows 11, x86, x64, ARM64
- Windows 10, x86, x64
- Windows 8.1, x86, x64 (with limitations)
- Windows 7 SP1, x86, x64 (with limitations)
It's not compatible with Windows XP, Windows Vista and Windows 7 before SP1.
WireSock Secure Connect requires .NET Desktop Runtime 10 to be installed on the system. You can download .NET 10 Desktop Runtime from the official Microsoft website and install it manually, or it will be automatically downloaded and installed by the application installer during the setup process. A stable Internet connection is required for automatic .NET installation.
NOTE
Officially, .NET 10 is not supported on Windows 7/8/8.1; however, it can be installed on this operating system and will run. It is important that all currently available updates are installed on your operating system. Our users report successfully using UpdatePack7R2 to install all known updates on Windows 7 SP1.
However, we cannot guarantee the stable operation of the application on Windows 7/8/8.1. Use WireSock Secure Connect on Windows 7/8/8.1 at your own risk.
Download app
Get the latest version of WireSock Secure Connect from WireSock.net
Install the app
Locate and double-click the download file on your computer.
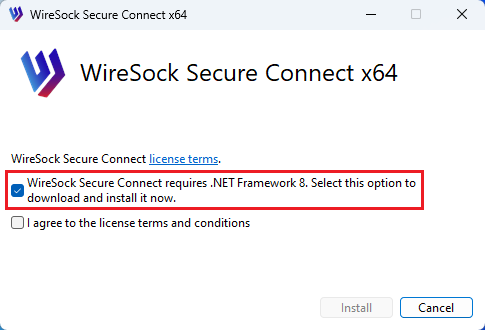
 If you see a prompt to install the app, click Install to proceed. The installation window will open.
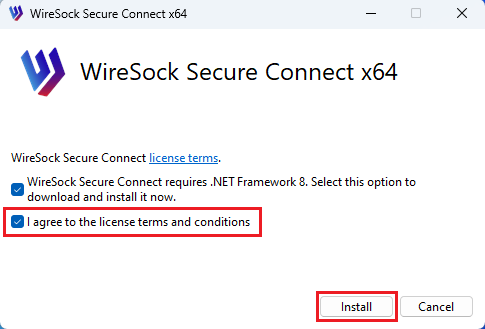
In order to proceed with the installation, you need to check the box indicating that you have read and agree to WireSock Foundation's terms of use.
The installer detects the .NET version installed on your system and downloads and installs .NET 9 if required.
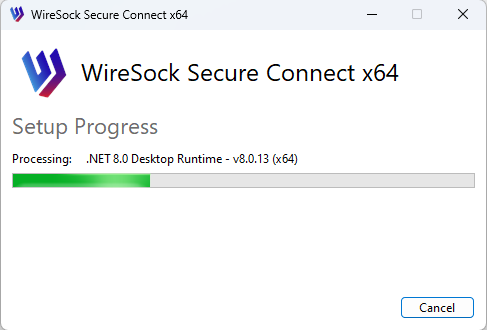
It will install the WireSock kernel modules required for connectivity.

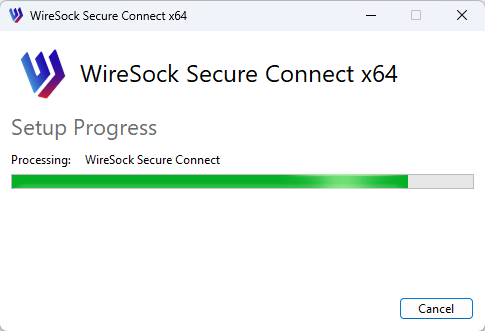
And then it will install WireSock Secure Connect.
Click Close to complete the installation and exit the installer. You can choose the option to launch WireSock Secure Connect after the installation is finished.

Offline installer
- Download the latest .NET Desktop Runtime 10 from the official Microsoft website https://dotnet.microsoft.com/en-us/download/dotnet/10.0 and install it on the system before installing WireSock Secure Connect.
- Install WireSock Secure Connect using the standard installer.
The WireSock Secure Connect installer supports standard headless installation options:
NOTE
For enterprise deployments (Pro edition), use the /s switch and additional deployment parameters as described in the Deployment Guide. The /passive and /quiet switches below are standard MSI UI-level options.
/passive
Passive display option. The installer displays a progress bar to the user that indicates that an installation is in progress, but displays no prompts or error messages to the user. The user can't cancel the installation.
/quiet
Quiet display option. The installer runs an installation without displaying a user interface. No prompts, messages, or dialog boxes display to the user. The user can't cancel the installation.